Backend Development: A Comprehensive Guide
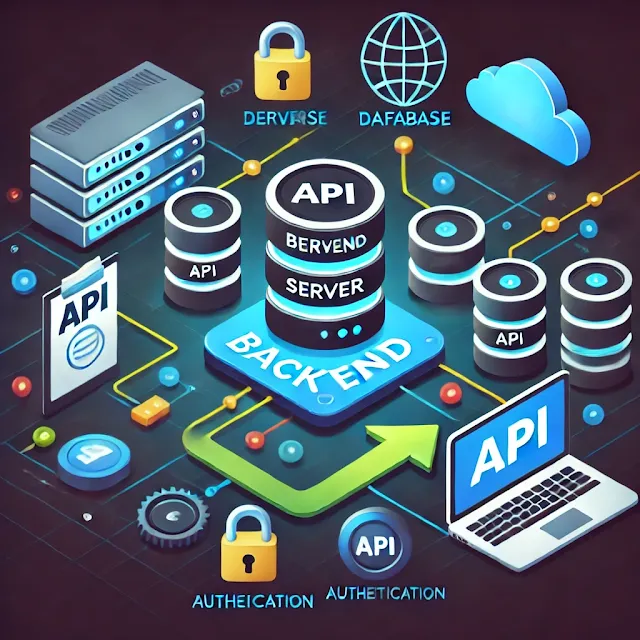
Backend development is the backbone of web applications, handling server-side logic, databases, authentication, and APIs. It ensures that the frontend functions smoothly by processing user requests, managing data, and maintaining security.
In this guide, we’ll cover:
What is Backend Development?
Key Technologies and Tools
How Backend Works (with Code Examples)
Building a Simple Backend with Node.js and Express
Database Integration (MongoDB Example)
Authentication Implementation (JWT Example)
Let’s dive in!
What is Backend Development?
Backend development focuses on server-side operations that power websites and applications. It involves:
Server Management: Handling client requests and processing data.
Database Management: Storing and retrieving information.
APIs: Enabling communication between frontend and backend.
Security: Ensuring safe authentication and authorization.
Frontend vs. Backend
| Aspect | Frontend | Backend |
|---|---|---|
| Languages | HTML, CSS, JavaScript | Node.js, Python, PHP, Java |
| Frameworks | React, Vue, Angular | Express, Django, Laravel |
| Role | UI/UX, animations, user interaction | Server-side logic, database handling, security |
Key Technologies and Tools
1. Programming Languages
JavaScript (Node.js) – Event-driven and scalable.
Python (Django, Flask) – Simple and powerful.
PHP (Laravel, CodeIgniter) – Popular for web apps.
Java (Spring Boot) – Used for enterprise applications.
2. Databases
SQL (MySQL, PostgreSQL, SQLite) – Structured, relational.
NoSQL (MongoDB, Firebase, Redis) – Flexible and scalable.
3. Web Frameworks
Express.js (for Node.js) – Fast and minimalist.
Django (Python) – Secure and feature-rich.
Spring Boot (Java) – Microservices and enterprise-grade.
4. APIs and Authentication
RESTful APIs – Uses HTTP methods (GET, POST, PUT, DELETE).
GraphQL – Efficient querying of data.
JWT (JSON Web Token) – Secure authentication.
How Backend Works (With Code)
Let’s implement a basic backend using Node.js and Express.
Step 1: Install Node.js and Express
First, install Node.js from nodejs.org. Then, initialize a project:
Step 2: Create an Express Server
Create a file server.js and add:
Run the server:
Visit http://localhost:5000/ in the browser to see the response.
Database Integration with MongoDB
MongoDB is a NoSQL database used for storing data. We’ll integrate it using Mongoose.
Step 3: Connect to MongoDB
Create a .env file for environment variables:
Update server.js to connect MongoDB:
Step 4: Create a User Model
Create a folder models and add a file User.js:
Implement Authentication with JWT
We will now create user signup and login with JWT authentication.
Step 5: User Registration
Create a folder routes and add a file auth.js:
Step 6: User Login with JWT
Update auth.js:
Step 7: Protect Routes with Middleware
Create middleware/auth.js:
Step 8: Create a Protected Route
Update server.js:
Testing the Backend
1. Run the Server
2. Test API Endpoints
Use Postman or cURL to test:
Signup:
Login:
Access Protected Route (Use Token from Login Response):
Conclusion
Backend development is crucial for handling data, security, and logic in applications. In this guide, we covered:
✅ Setting up an Express.js server
✅ Connecting to MongoDB
✅ Implementing User Authentication with JWT
✅ Creating a Protected Route